A great soup for the Thanksgiving season, a way to use your
turkey leftovers when the family is completely tired of turkey tetrazzini and turkey sandwiches. This version of the Mexican classic is more hearty and more flavorful than the original, yet still possesses a bit of a bite (and more than a bit, if you desire.)

We're not going to talk about turkey roasting here, but, if you haven't learned to swear by a brined, roast turkey yet, let me add my two cents. You will be the star of your family, the apple in the eye of your partner, the most sought-after cooker of turkeys in your neighborhood. A properly prepared brined, roast turkey is certainly the cat's meow.
A version of Alton Brown's brining process is here. But, there is nothing like the original.
Courtesy of Mr. Brown.
There are a ton of dishes in Mexico that take their names from towns and villages throughout La Republica. This soup is named for an area of the Distrito Federal (DF), or the legal entity that is the capital of the country, the better part of Mexico City. One of the boroughs of the city, Tlalpan is the source of the name.
More information on Tlalpan is here.
First, the pronunciation. CAAAHHHL * DOOH (
Caldo) refers to a soup that is derived from broth or stock, generally of a consistency about like you'd find in a can of Campbell's chicken noodle. (Tlalpeño) is a little tougher for gringo tongues, practice it in pieces, T (TEE, with out the EE) * LAAHHLL (keep your mouth open) * PAAYN (hold the long A a bit) * YO (long O). Many gringos have trouble with such indigenous Mexican words, but its really cool when you can do it, adds a bit of flavor and spice (puns fully intended) to the presentation of a really excellent soup.
Ingredients (Assembly instructions further below, if required)
Turkey stock, homemade, de-fatted, unseasoned Add as much as you desire. I tend to add more than most, since I really like a thinner soup and the wonderful flavor of the stock.
(Poor Alternate: canned chicken stock, reduced by 50-60%, way too much sodium)

2-3 cups of cooked, de-fatted, skin removed turkey meat (from a small roaster turkey OR turkey drumsticks or other turkey parts OR Thanksgiving leftovers)
3 large onions (prefer sweet onions), diced, caramelized over medium heat in a little bacon grease or very light olive oil (without added sweetener)
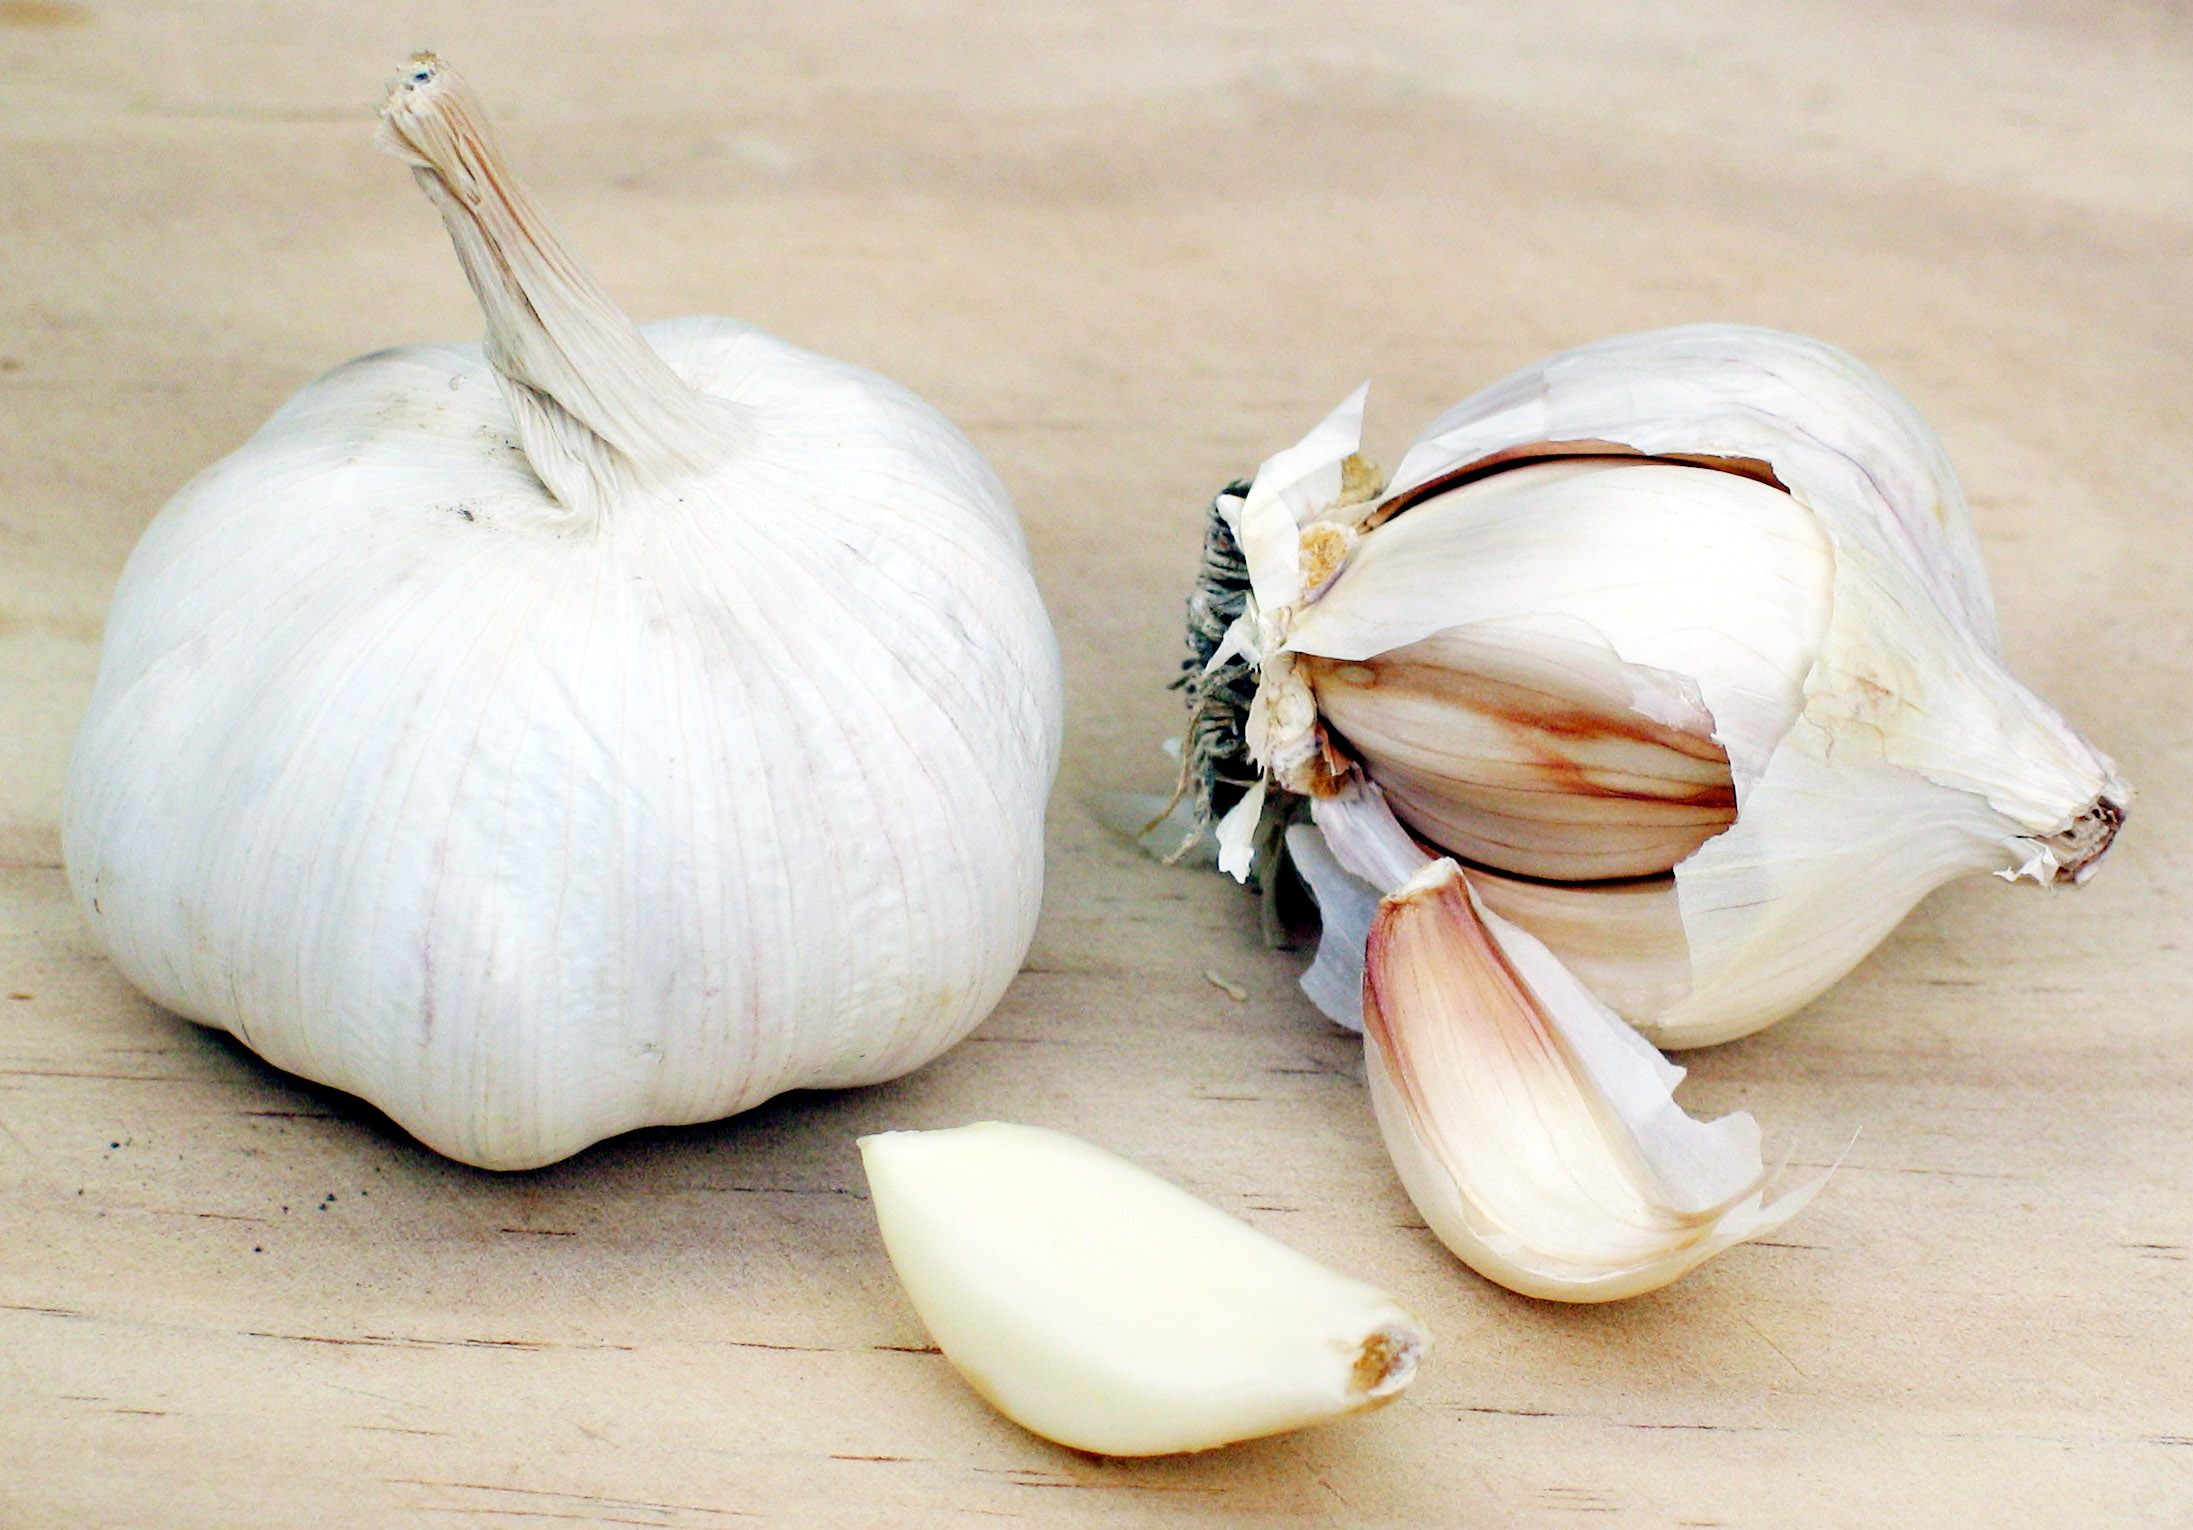
4 garlic cloves, pressed, minced, or peeled and diced, cooked with the onions
3 cans
chick peas, rinsed reasonably clean of can syrup
4-5
jalapeño peppers (green), blackened, skin removed, seeds removed, diced (be careful of the
capsaicin)
2-3
poblano peppers (green), blackened, skin removed, seeds removed, diced (be careful of the
capsaicin)
3-4 pounds carrots, cleaned or peeled, coarsely diced, boiled until beginning to get soft, but with plenty of structure left (We want them to finish cooking in the soup pot)
(OPTIONAL - But NOT in my soup!) 4-5 small summer squashes, coarsely diced, lightly boiled or skille
t sautéed (not recommended, but some folks like this addition - be careful not to overcook)
 To be added shortly before serving
1/4 cup of coarsely chopped cilantro leaves
one cup of brown rice, cooked to make 3 cups of firm, fluffy rice (Alternate: white rice, not instant rice - too mushy in the soup)
To be added at serving
1/4 of a ripe avocado per immediate serving (
cut open the avocado - here's how, though I prefer a radial cut instead of the longitudinal cut shown in the video, scoop out the innards, and cut it into slices for inclusion on top of the warm soup)
1-2 healthy sprigs of cilantro for every immediate serving (put on top)
2 lime (not lemon) wedges per immediate serving (primarily garnish, but the acidity cuts the richness of the soup - we put a squirt of lime juice on everything made in Mexico!)
salt and pepper to taste
Your Choice Serving Options
1 big dollup of real sour cream per immediate serving (recommended!)
sprinkled bacon bits (everything tastes better with bacon)
jalapeño peppers (green), blackened, skin removed, seeds removed, diced
Wine serving options
champagne, followed by Caldo Tlalpeño as an opening course before a salad is fantastic
Contrasting style - bright, acidic Sauvignon Blanc (New Zealand)
Complementary style - big, non-tannic New World (Oregon, Washington) Pinot Noir
(Alternate: not so fruity, but big, Zinfandel)
How to assemble and finish cooking
Everything is essentially ready to eat at this point. Pile the stock or broth, turkey pieces, carrots, peppers, onions, garbanzos, garlic into a heavy-bottomed soup pot. Simmer covered for a while, an hour or so is sufficient, stir frequently.
Notice how the turkey pieces have been pulled from the bird, not cut. Please don't cut the bird meat. If you want smaller pieces, tear.
And, remember that as the soup cooks, some of the turkey chunks will break apart.
Dump the rice and the chopped cilantro into the pot 10 minutes or so before you intend to ladle out for serving. In the meantime cut up the avocado (if you leave the sliced avocado out for more than about an hour they will begin to brown up on you - it is better if you use the sliced avocado fairly quickly.
Mix the soup, begin to ladle out into serving bowls, put a few sprigs of cilantro on top of each bowl of soup. Put a lime slice or two on each bowl as well.
Place the sour cream, bacon, diced jalapeños, salt, and pepper on the dining table to allow your guests to garnish their own soup.
Additional information / insight / recommendations
Chick peas

Sometimes fresh garbanzo beans (chick peas) are available. This is a better way to go than cans, simply because you have more control. If you use the can, please rinse away the
goop in the can - what is it? who put it in there? can it hurt you? It's best to slap those chick peas into the colander and rinse them down before using them in the soup.
Zanahorias
Carrots should be boiled until still a little firm. Remember that the soup will cook together a bit longer, so don't overcook. Do not use the boiling liquid in the soup. Put the liquid on your compost pile with the peelings. If you don't have a compost pile, make this your next project!
Don't put the liquid used to boil the carrots into the soup!
 Sebollas y Ajo
Peel and dice the onions. A sweeter onion like a Vidalia caramelizes a little better than a standard cooking variety yellow onion, but that can work as well. Four onions for this pot of soup is a large quantity. I like cooked onions, so it works for me.
The garlic can be added via the garlic press or the cloves can be cut, peeled and finely diced. I like the latter, though I often use the press, simply because I like the smell of the garlic on my fingers the rest of the day.

Cook the onion and the garlic together, or onions first followed by the garlic. A finely diced garlic clove will take very little time to cook. A garlic cooking at low temperature is better than at high temperature.

In any event, cook the onion covered for a while under relatively low heat. The onion will release moisture. Take the skillet cover off so that the released moisture can escape. As the onions cook further, they will get a little mushy, begin to slightly stick to the bottom of the skillet, and take on nice toasty brown hue. You can usually even smell the browning of the sugars in the onions at this stage. Good stuff.
Do not boil the onions or only cook them until they are translucent. A common mistake. Get some more flavor by slightly caramelizing the onions.

When the veggies are done with the preliminary cook, dump them into the pot you intend to use for the soup. We are nearly ready to mix the primary ingredients.
Chiles
Blackening the peppers does a couple of things. First, it allows for easy removal of the pepper skin. The thin, plastic-like, tough skin of a pepper is objectionable in a mixed element dish like soup. Second, it does a preliminary cooking of the pepper, not a lot but some. Cooked peppers have a decidedly different flavor than uncooked peppers. Putting somewhat cooked peppers into the stew pot is consistent to what we have done with the other ingredients. Third, since you can't get all of the 'black' off the peppers, you get the benefit of the associated flavor and any under-skin caramelization that may have occurred.
The first time I observed blackening of hot peppers was by Benjamin de la Rosa at el Rancho de los Tres Hermanos, just west of Matamoros, Tamaulipas, Mexico off of
Sendero Nacional. He was making a fresh tomato salsa for the tacos that were on the grill. I've been emulating the approach ever since. Thanks Benjamin, though I think I still owe you for the help you provided when I addressed the ladies in Ops 1.
Try to get all of the outside skin of the pepper blackened. After the pepper is removed from the fire, the pepper is hot - use tongs. Don't use water. If as you clean the pepper of its black outer skin using water, flavor is also removed. Try to remove the skin with your fingers; it is gooey, and, remember not to rub your eyes; remember the capsaicin!
After you remove the blackened skin from the pepper, remove the top, trying to take as much of the seed pod as possible. Then, cut open the pepper and scrape the seeds out. If you think that you may want the soup to be a little spicier, retain the pepper seeds, otherwise, on the compost pile.

Cut the jalapeños pretty thin (a hotter chile), and the poblanos a little thicker (a milder chile), then dump them in the stew pot.
Brown Rice
Cooking the brown rice according to the directions on the bag works fine.

An alternate approach which results in a little different flavor, completely consistent with the woodsy, smokey flavor of this particular recipe, is to lightly brown the rice before the water absorption.
I just use the cast iron skillet in which the onions and garlic were sautéed. Pour in the rice out of the bag, turn on the burner. Stir constantly until you get some additional color on the rice kernels, and you can detect a little nutty flavor in the air. I usually just use that same skillet to cook the rice. In fact, this is a spot where you can also use your canned chicken stock. Pour it in the hot skillet, stir for a while under heat, get to a simmer, stirring occasionally, cover with a lid, and let it rip for 10-15 minutes. Turn off the heat, still covered, go watch a movie or Oprah or CSI. When you come back, voilà!
Turkey / Chicken stock
This remains the key to a good soup. The more flavorful the stock, the more flavorful the soup. I spend a huge amount of time on stock, concentrate it, then freeze it until needed. Please take a look at my comments on how to make a good stock. I'll summarize the major points here, but for questions, check out the more in-depth discussion.
To get an idea about the degree to which the stock is concentrated, what you see here is the stock derived from a 20-pound turkey and a 15-pound
Tennessee cured ham.
It is important to remember as you are cooking the meat that will serve as the base for the stock or broth, you will be concentrating the water. If the meat has a bunch of salt or a barbecue rub, then the concentrated stock will also concentrate those flavors. For this reason, the best stock is made from completely un-seasoned meat.
In making stock, you are doing what chemists might refer to as a liquid-liquid or solid-liquid extraction. What you are basically trying to do is move as much of the flavor as possible from the cooked meat to the stock or broth.
Everything on the meat cut that comes out of the oven that won't go into somebody's mouth is a candidate for the stockpot. Bones, fat, drippings, juice, skin, ugly stuff. Toss it in the stock pot, vigorous simmer it for several hours covered. At this point the bones should be completely loose from the cartilage and tendons, and should be beginning to soften up. There is probably a grease or oil film on the top of the pot.
I usually pull all of the remaining solids out of the pot and retain them for a quick secondary boil. The primary liquid (filtered, if you desire) can begin to be lightly boiled, uncovered to help with the concentration process.
Take the solids, more water, do a second liquid-liquid and solid-liquid extraction for a few hours, then discard the bones and other solids. (If bugs, flies, or animals are attracted to these discarded solids, then you haven't removed the full potential of flavor to the water!) Move the remaining liquid and grease to the same concentration pot used for the original boil. Keep doing the concentration thing.
This foto shows the first and second stock boils after removal of the solids.
Unless you are much better than me, your kitchen will always be a mess when making stock, but it cleans up, and it is definitely worth it.
At some point, you'll have concentrated enough (as you get comfortable making your own stock and broth, your tendency will be make increasingly concentrated stocks.) Transfer the concentrating liquid to a more properly sized (preferably small surface area) pot. Put that pot into the refrigerator, until the grease layer firms up. When the grease layer is firm, peel it off and discard in the trash - not good for the drain, nor the compost pile.


Continue to concentrate to your desired level, then use directly in a soup, or
freeze in portion sized quantities. What you are left with is an almost fat-free, and very flavorful stock or broth, that is a great starting point for your favorite meat-based soup.
Again, the served product:


